Let me clear this out right at the beginning – this came as an inspiration from diyphotography.net. And after the “aha moment” I had to try it on my own! So while playing and creating my own Pringles softbox, I have decided to share my version and mainly my pictures – which I found pretty awesome ;). Taking into a consideration what a simple lightning set up has been used.
So what can you get? Pretty cool “softbox”, which can direct your nicely diffused light to a very narrow beam. It will utilize your own electronic flash (Nikon SB-900 in my case). And it will cost you almost nothing. Well, 3 bucks for a tin of Pringles, but those will be eaten by your family members anyway! 😉
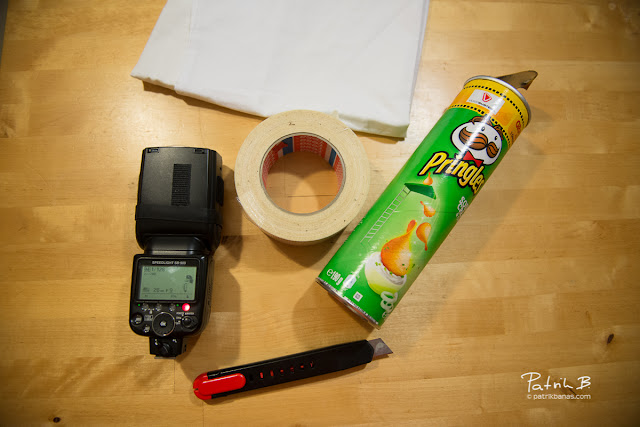
What you will need:
- tin of Pringles (no, it really doesn’t matter what flavors)
- duck tape
- white fabric (old pillow cover, in my case)
- sharp knife
- your electronic flash
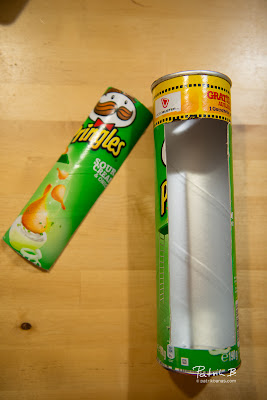
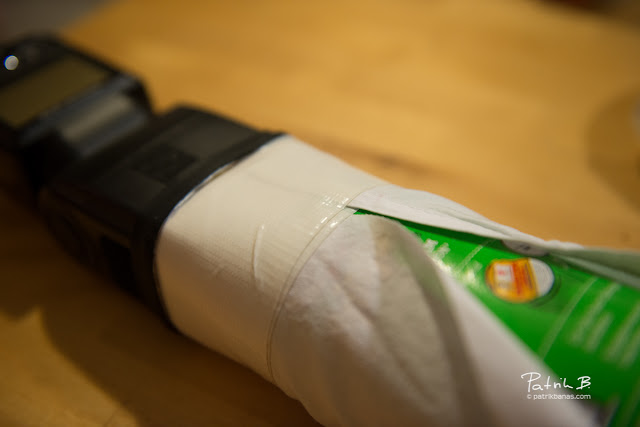
Cut out rectangular shape on the Pringles tin. Please be careful with a knife! Size is apx. 3 cm (1 inch) wide and will go almost through the full tin. Keep a bit a space on the side, so you can stretch fabric around it and the tin will still hold the structure.
Below you can see the aproximate size of the final cut.
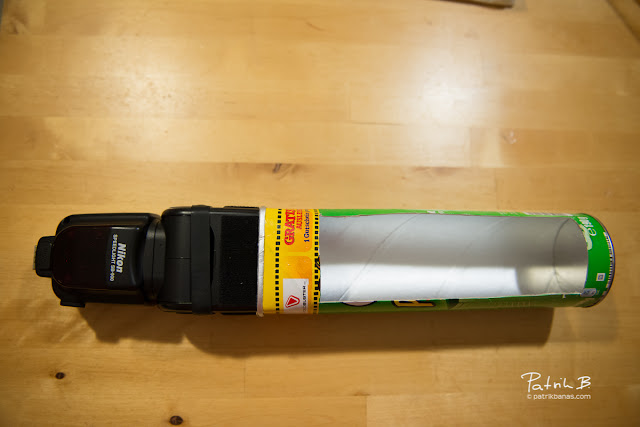
Next step is to fit your flash into it. This is a bit tricky part. Every flash has a different size of the head. My LumoPro flash wasn’t able to fit it into a tube. Nikon SB-900 went inside, even very, very tight.
But I have managed and it looked like Pringles were made with Nikon cooperation to fit inside perfectly! No light leakage at all around the flash head and the tube. If your head is smaller, try to fill it with a fabric leftovers or use the lid as in the original post mentioned above. Key is to avoid light leakage around the head, so you would get a control of the light output.
But I have managed and it looked like Pringles were made with Nikon cooperation to fit inside perfectly! No light leakage at all around the flash head and the tube. If your head is smaller, try to fill it with a fabric leftovers or use the lid as in the original post mentioned above. Key is to avoid light leakage around the head, so you would get a control of the light output.
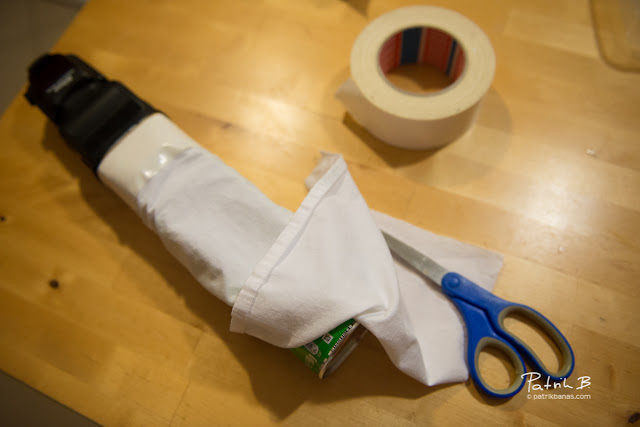
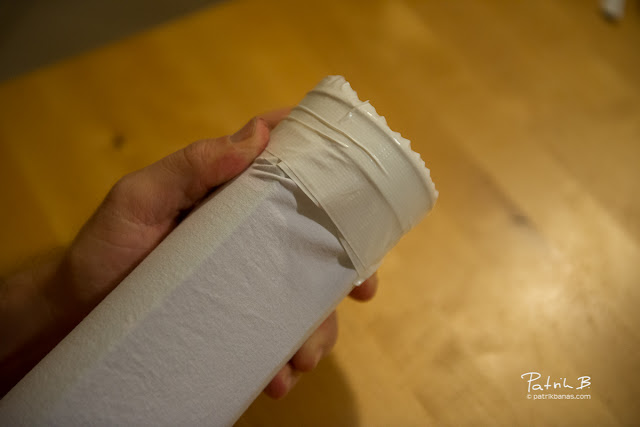
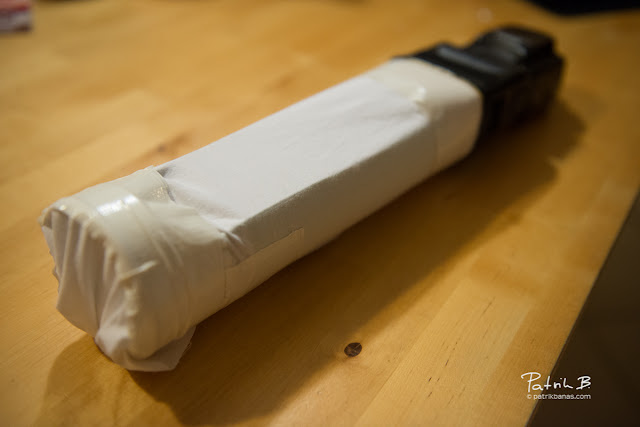
Continue with cutting out appropriately sized piece of fabric, which will cover the whole opened space on the tin. In my case I have covered whole tube with a fabric, so I was able to stretch the fabric really strongly.
Notice, that duck tape is really covering only the Pringles tube, not your dear flash at all.
Try to stretch fabric as much as you can, so the light output will be distributed evenly.
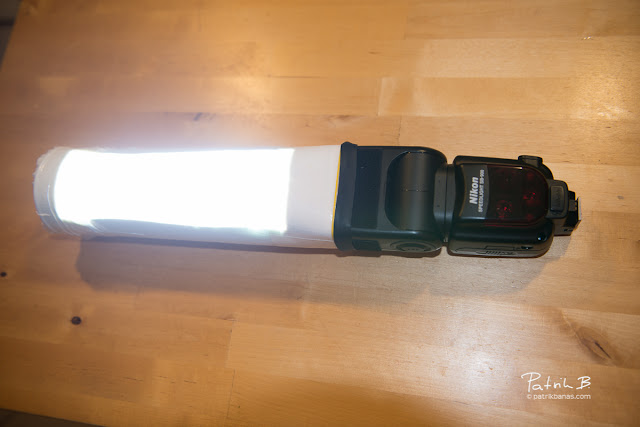
And voilá! This is it! Your own lightbox made within apx. 30 minuted (with breaks to take a documentary pictures). Below I have fired the flash using wireless Nikon built CLS system, so you can see the lightning effect.
And now, the fun part. What can you use it for? The most of it you will get using it off the camera. Plugging it on the top of your camera really doesn’t make sense. So I have connected it with two PocketWizzards and click it with clamp on the stand. Flash swivelling head will give you a lot of flexibility to move it around and direct the light in the way you want. Of course this requires a lot of experimenting and trial-end-erroring, but it is a lot of fun! You’ll see…
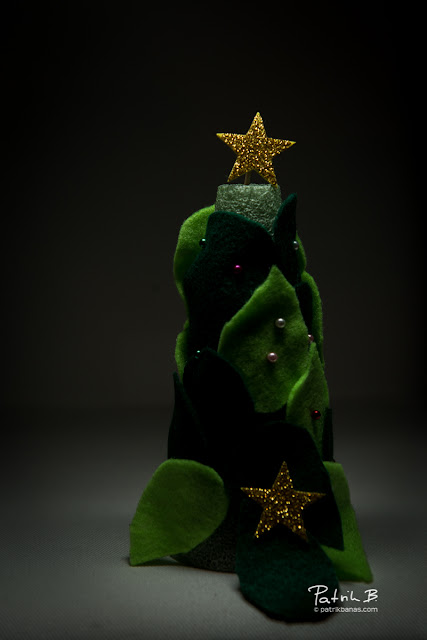
Apart the fact, that you can built your own small softbox, the best advantage as I see it, is the fact the light output is very controlled and the beam is pretty narrow. As you can see on the set up above and the output below, the light is covering only my daughter’s xmas art craft, while the back part of the chair is almost completely lost in the dark, with a minimal light spill. Great tool for your home product-shots studio…
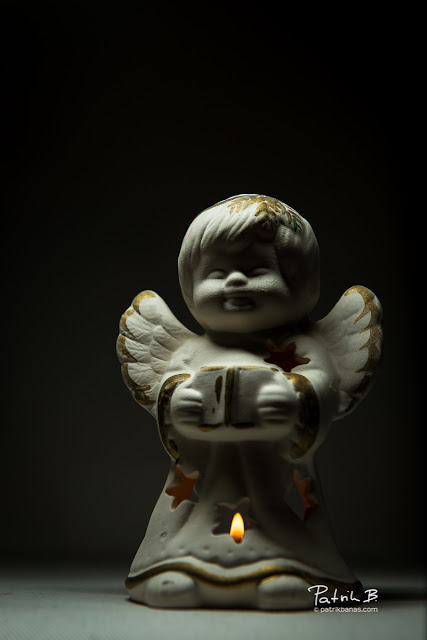
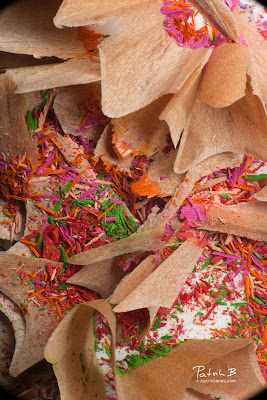
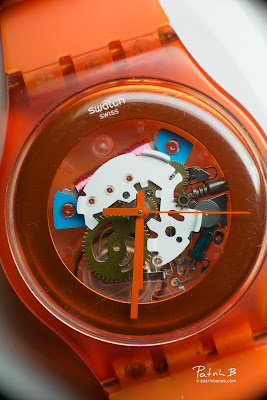
Few more examples, how easily you can use your new soft box for creating evenly lit images. I have utilized it significantly with those close up shots below. Notice the nice white quarter-ring light in the top right part of the watch. Yep, such a long light source in a close up shot created this nice and smooth 3D effect.
And yes, this red beauty was also take with my new Pringles softbox, positioned above the freesia. I have added some behind the scene shots of this set up directly to the Red beauty post.
Have a fun, experiment and share with me your lightning creations!
